
Support
How to Reconnect Your Inverter to Wi-Fi
Changed your internet provider or Wi-Fi password? Follow our step-by-step guide for your inverter brand to get your monitoring back online.
Guided walkthroughs
Watch or download a full guide
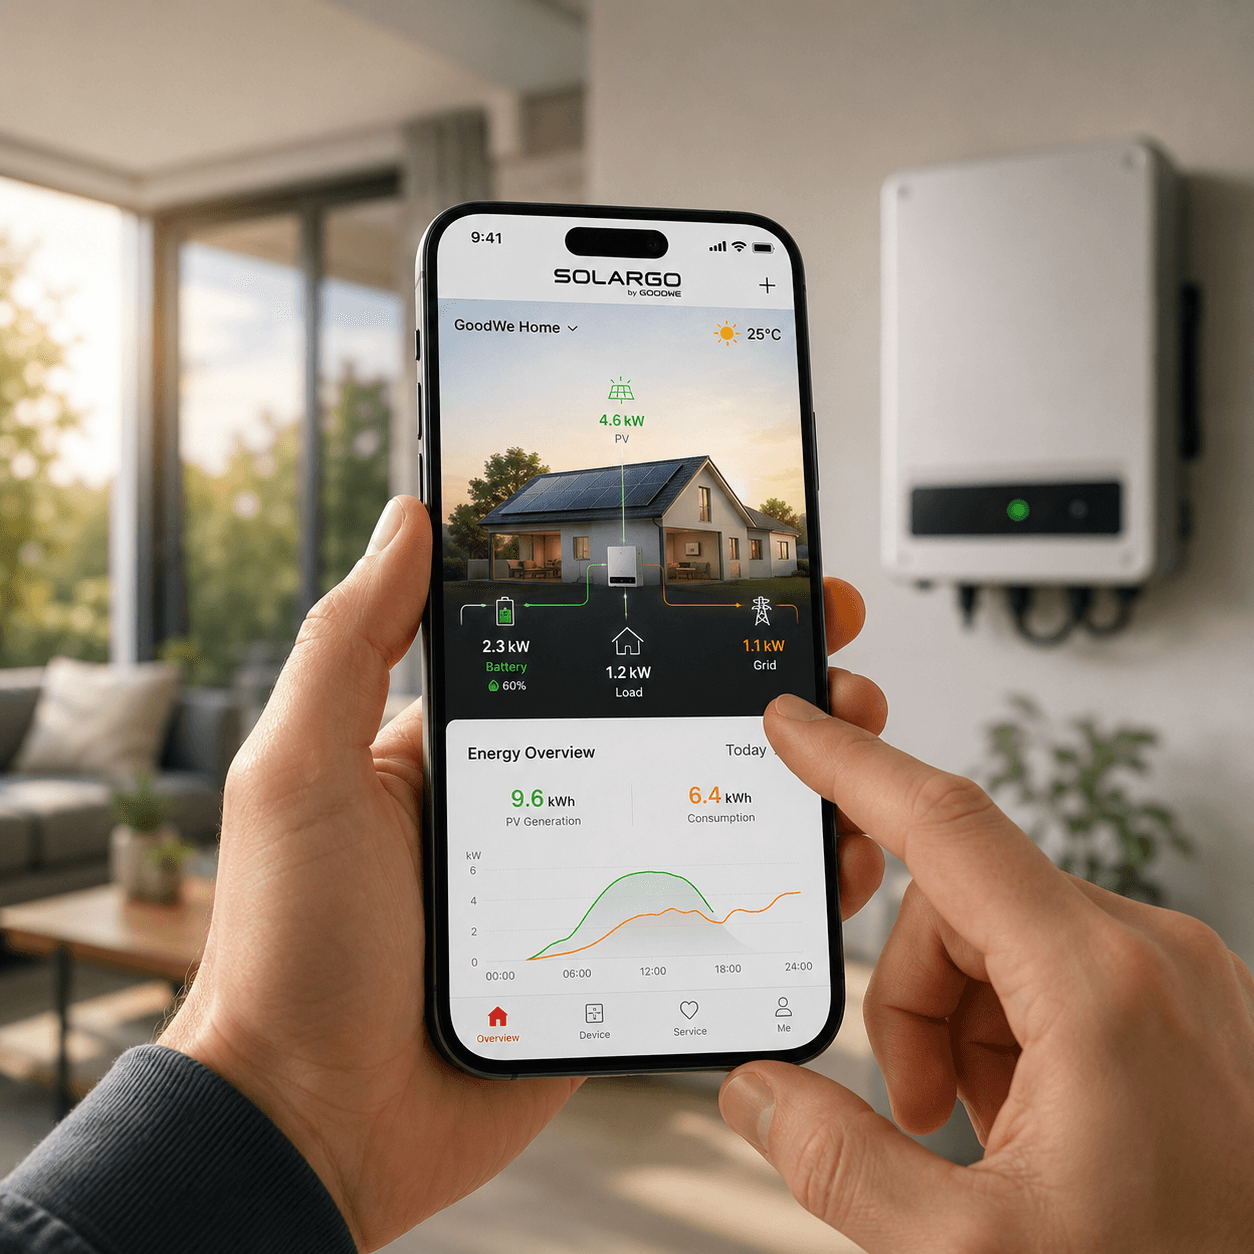
Reconnect your GoodWe inverter to WiFi using the SolarGo app after changing your router or password.
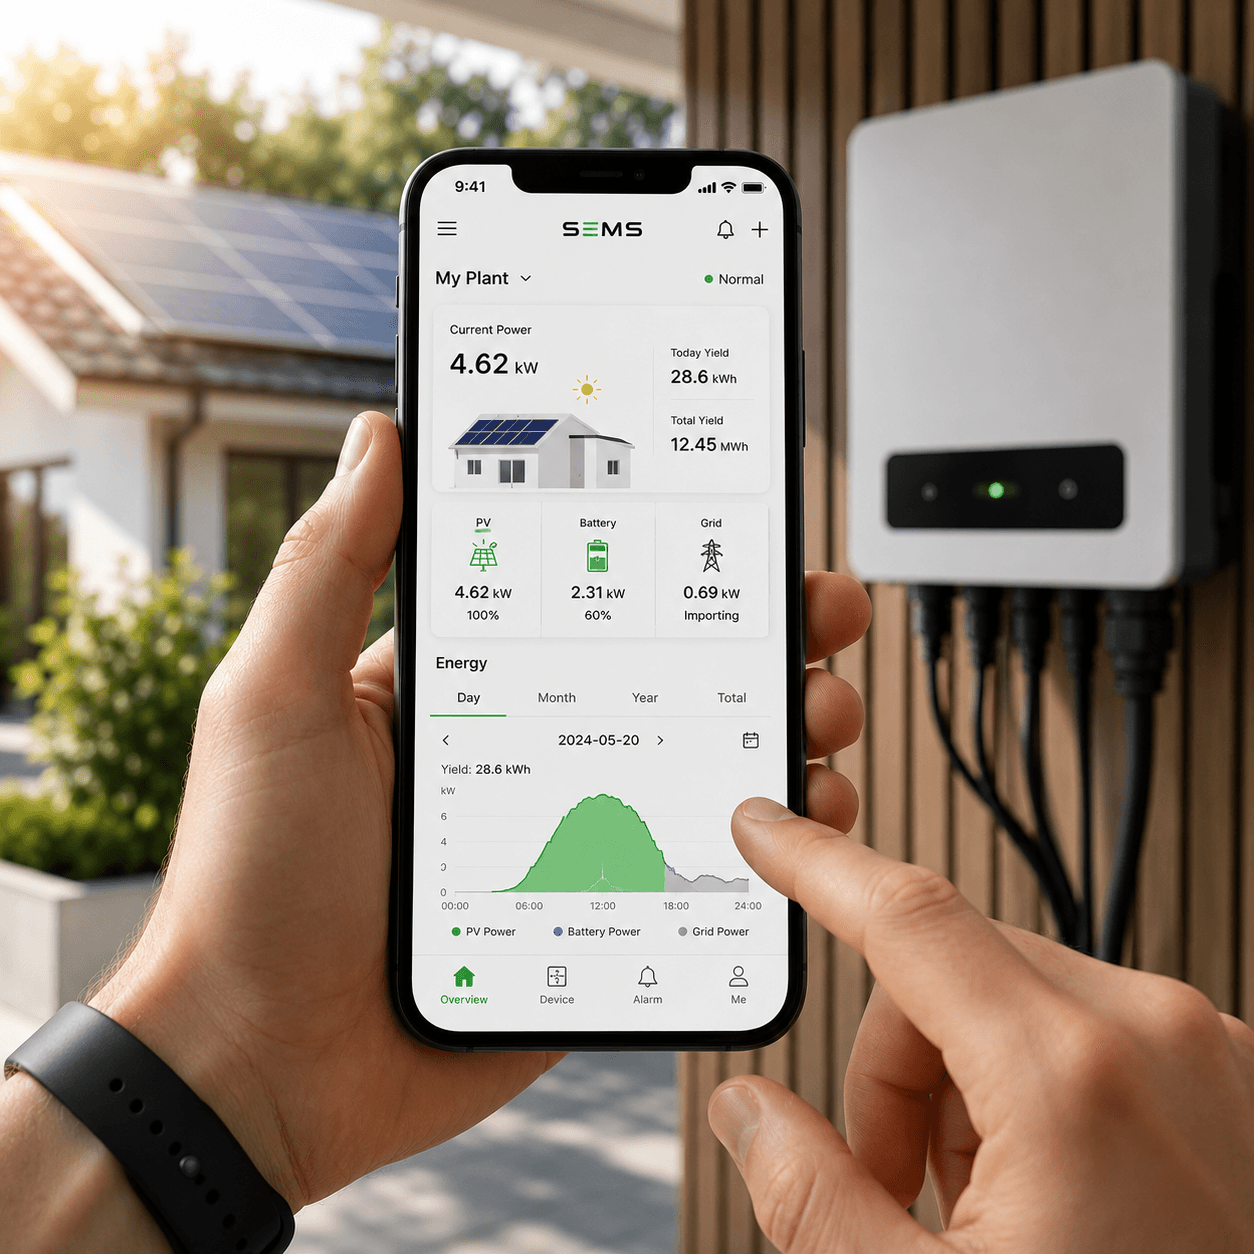
Reconnect your GoodWe inverter to WiFi via the SEMS Portal app.
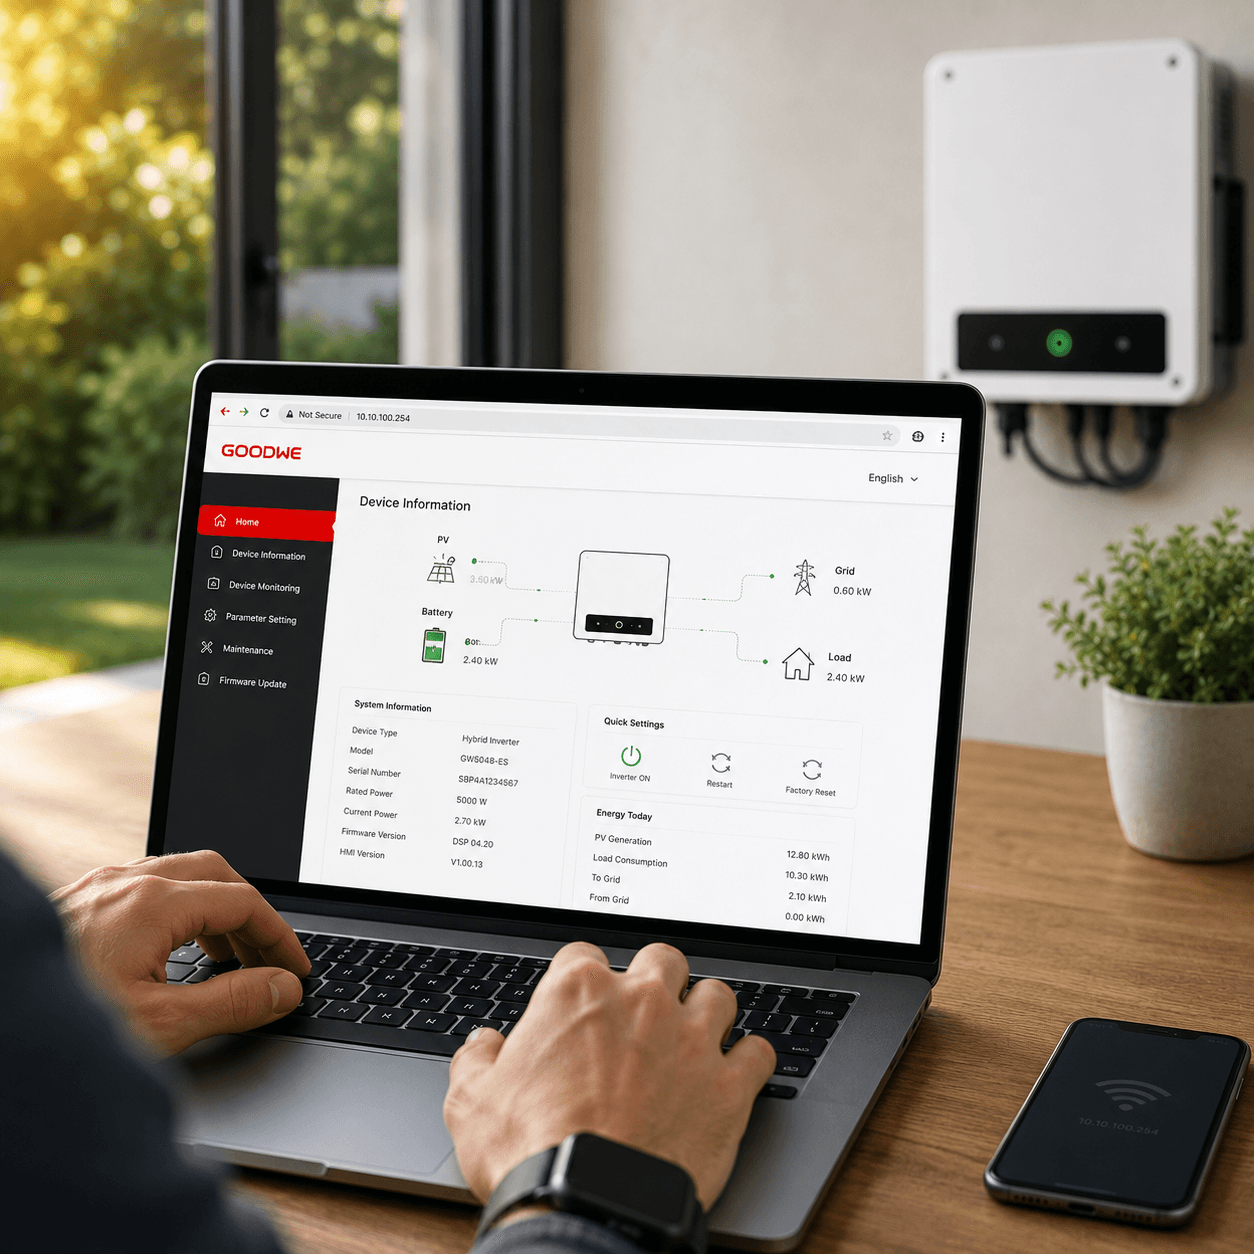
Reconnect your GoodWe inverter to WiFi using the built-in web browser method.
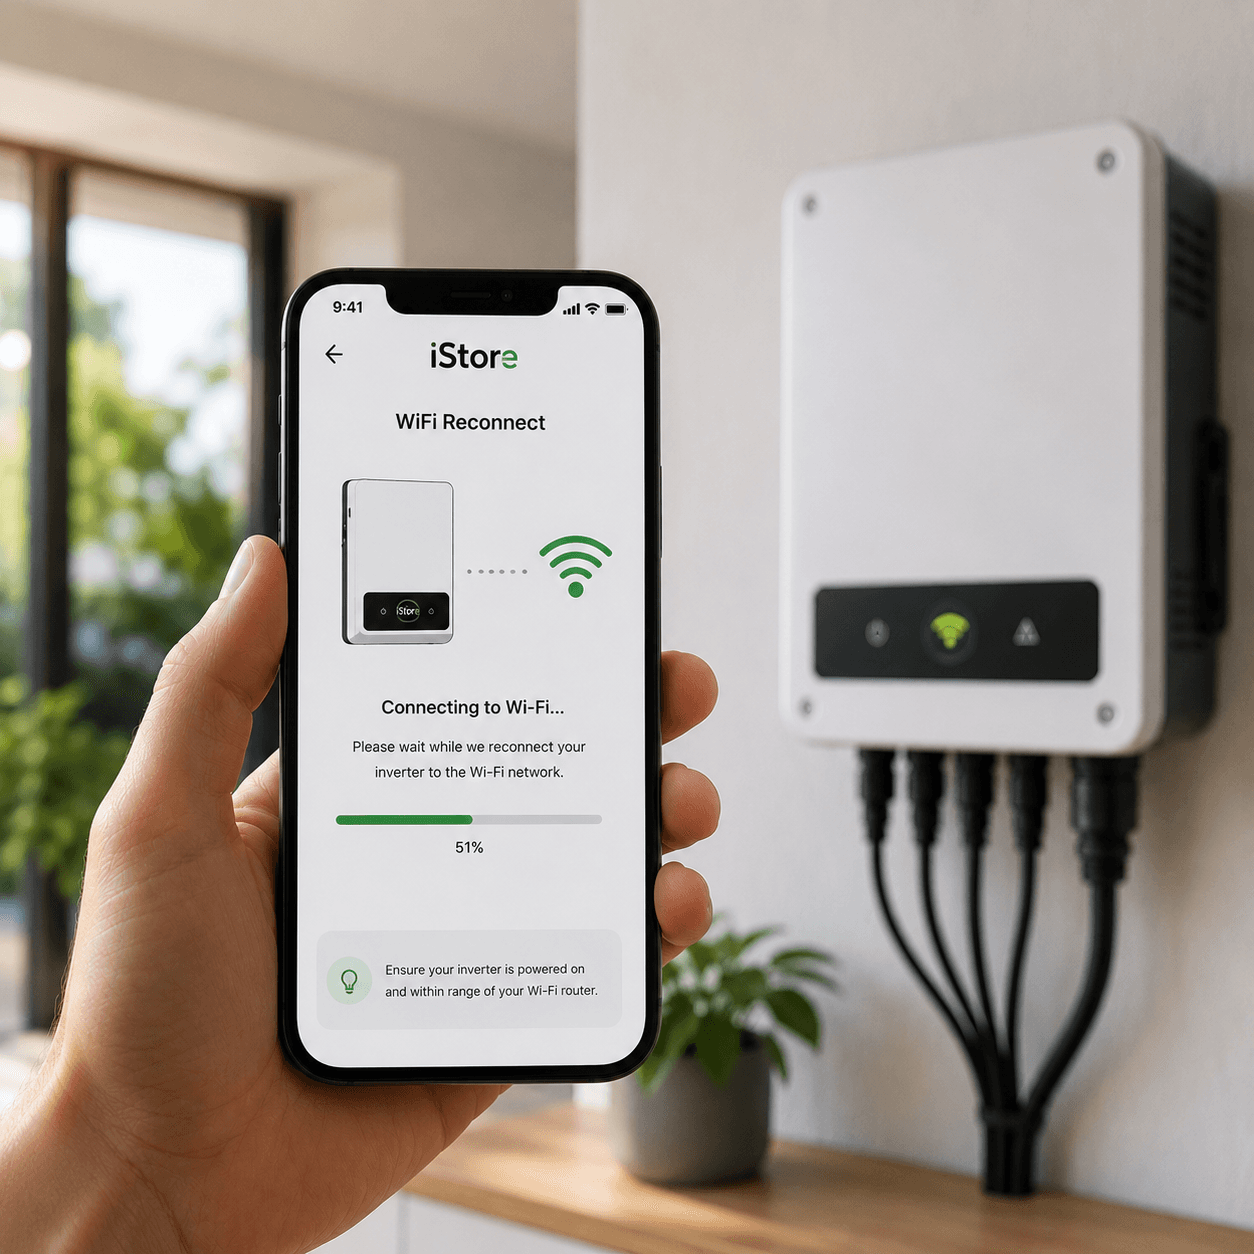
Reconnect your iStore inverter to your home WiFi network after a router or password change.
Every inverter brand
Reconnection steps, brand by brand
1) Open the inverter menu (third button from the left). 2) Scroll to Set-Up and press enter (far right button). 3) Scroll to Wi-Fi Access Point and press enter. 4) Select Activate Wi-Fi AP. 5) The default Wi-Fi password is 12345678. 6) On your phone/tablet, go to Wi-Fi settings. 7) Connect to the Fronius inverter's hotspot using password 12345678. 8) Open a browser and go to 192.168.250.181. 9) Click Settings (right) then Network. 10) Highlight your home Wi-Fi network and click Set. 11) Enter your Wi-Fi password (case-sensitive) and click Set. 12) Click the tick at top right. 13) Rejoin your home network on your device. Note: if you have both 2.4GHz and 5GHz, you MUST select 2.4GHz — the inverter won't connect to 5GHz.
SolarEdge's app makes this simple: 1) Download 'mySolarEdge' (you may already use it to monitor your system). 2) Log in to your SolarEdge portal. 3) Select your system. 4) Tap the three lines at top left. 5) Tap Inverter Communication. 6) Scan the QR code on the side of the inverter. 7) Follow the remaining prompts on the inverter.
1) Download the FusionSolar app (Google Play or Apple App Store). You'll need access to the inverter and a Wi-Fi device. 2) Log in, select 'Me' > 'Commissioning', then log in as USER with the default password 00000a. 3) Tap '…' at the top right, then Settings > Router Connection Settings, select your Wi-Fi network, enter your password and connect.
Step 1 — Connect device Wi-Fi: on your phone/tablet open Wi-Fi settings and select the inverter network "SG-******". Step 2 — Login & configure: open the Sungrow iSolarCloud app, log in, tap MORE (bottom left), then WLAN Configuration; when it confirms you're connected to the inverter, tap NEXT. Step 3 — Network setup: select your home Wi-Fi from the list, enter your password; a successful connection is confirmed, tap NEXT.
Step 1 — Connect device Wi-Fi: near the inverter, open Wi-Fi settings, select "SMA19**********" and enter the WPA2-PSK password on the label on the right of the inverter. Step 2 — Login: open a browser, enter IP 192.168.12.3 and press enter (a 'not secure' message may appear — it is safe). Step 3 — Installation assistant: in the Sunny Portal, tap Menu (top right) > User Settings > Start the Installation Assistant; under Type of Communication choose WLAN, then Activate WLAN; tap the cog on your network > WLAN Settings and ensure your network is connected. Step 4 — Save: tap Save, then Next through each page to the Summary (don't change other details), then Continue. Your inverter should now be connected.
1) Make sure you have the Hi Solar app. 2) Open the app and press Scan. 3) Scan the QR code on the right-hand side of the inverter. 4) When asked to log in, call Solaire for the login details. 5) Once logged in, select 'User' from the drop-down. 6) Find 'Router Connection Settings' and choose your Wi-Fi from the drop-down. 7) Enter your password — your inverter should now be reconnected and tracking production. A video tutorial is also available on our YouTube channel.
1) Download the SEMS Portal app. 2) Ensure your GoodWe inverter and modem are on. 3) Open the app and tap 'WiFi Configuration' on the login page (or the Wi-Fi icon on the homepage). 4) Confirm the inverter is on and tap Next. 5) Choose 'Go into WLAN setting interface'. 6) Connect your device to the inverter network "Solar-Wifi*" (the * is the last 8 digits of the serial); default password 12345678. 7) Tap Next, then enter your home Wi-Fi name and password (to set a fixed IP, switch off DHCP) and tap Set. 8) The Wi-Fi light should turn solid, confirming connection. 9) If it doesn't stabilise, hold the reset button on the Wi-Fi module 2–3 seconds and reconfigure.
Still stuck
Need something else?
Send us a message and our team will help you get back online.
Why Perth homes choose us
- 15+ years across Perth
- We service any brand
- Prompt local support
- Clean Energy Council accredited